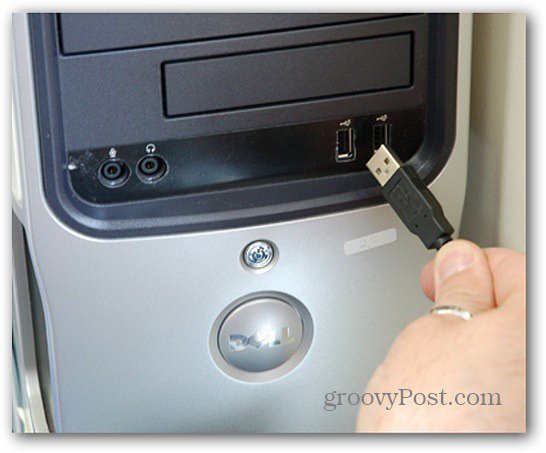
By default, the Kindle Fire supports JPEG, GIF, PNG and BMP image file types. The process is similar to putting your own videos on your Fire. Fist, plug the Micro USB cable into your Mac or PC.
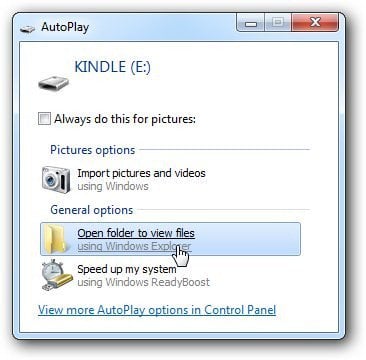
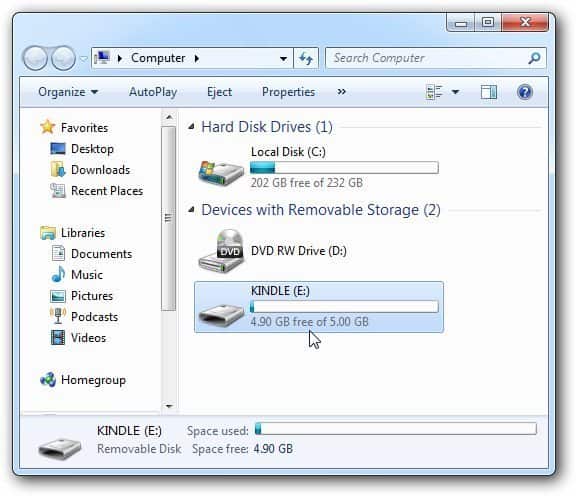
If you have AutoPlay enabled on Windows, you’ll see the following screen. Click Open Folder to View Files. If you don’t have AutoPlay enabled, go into My Computer and you’ll see the drive listed there. Double click to open it.
Now, you would think you put the pictures from your computer in the Pictures folder. But you don’t. Open the Download folder to transfer them there.
Open the the folder where you store your pictures on your computer or network location. Drag the pictures you want there. If you want to transfer them all, use the keyboard shortcut Ctrl+A to select them all.
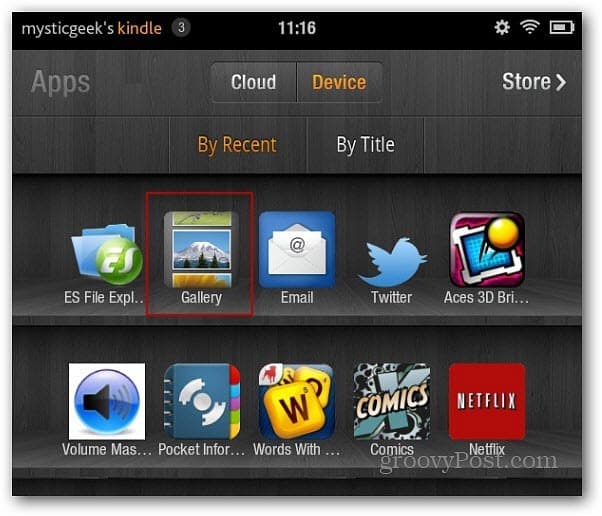
Disconnect the Kindle Fire from your computer. Then, from the main menu tap Apps » Device then the Gallery icon.
Here you’ll see thumbnails of the pictures you transferred to your Kindle.
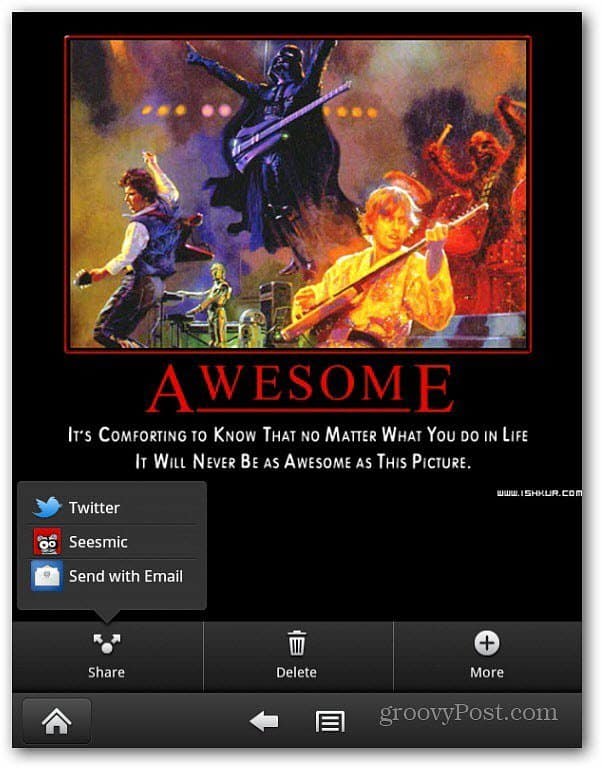
Tap on one of them to get a full view. I find it best to view them in Landscape mode. Then you can swipe left or right to browse through them. It also lets you start a slide show too.
Tap the menu button at the bottom and tap More to bring up some basic photo editing tools. You can Rotate images, Zoom in, and crop them.
Tap the Share button to email or post your image on Twitter or other social networking apps you have installed. Here I am able to add it to share it via Seesmic.
Since you’re adding media to your Kindle Fire, check out how to add music files to your Kindle Fire. Comment Name * Email *
Δ Save my name and email and send me emails as new comments are made to this post.
