Note: Windows 8 has quietly removed this feature, but you can still do this with XP – Windows 7. And if you are running Windows 10, make sure to read our article on making Windows 10 a Wi-Fi hotspot.
What You’ll Need
A Laptop with built-in WiFi capabilityA mobile device with WiFi capability (For example Kindle Fire HD, iPod touch, Nexus 7)A hard-wired Ethernet connection
Turn Your Windows 7 Laptop into a WiFi Hotspot
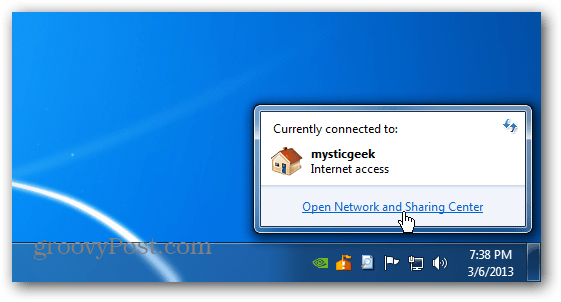
Click the wired network connection icon in the System Tray and select Open Network and Sharing Center.
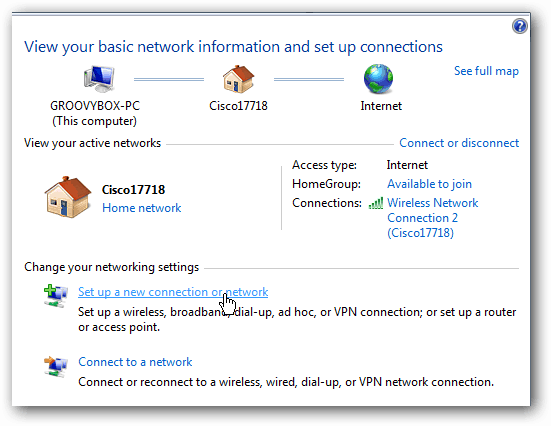
In the screen that opens, click “Set Up a New Connection or Network” under Change your Network Settings.
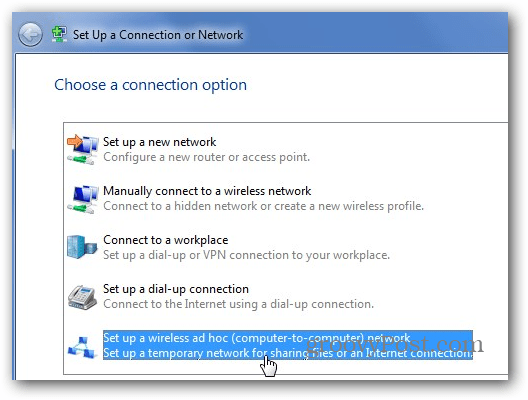
Now select the bottom option to set up a wireless ad-hoc network.
The Wireless Ad Hoc Network wizard will start up. Click Next.
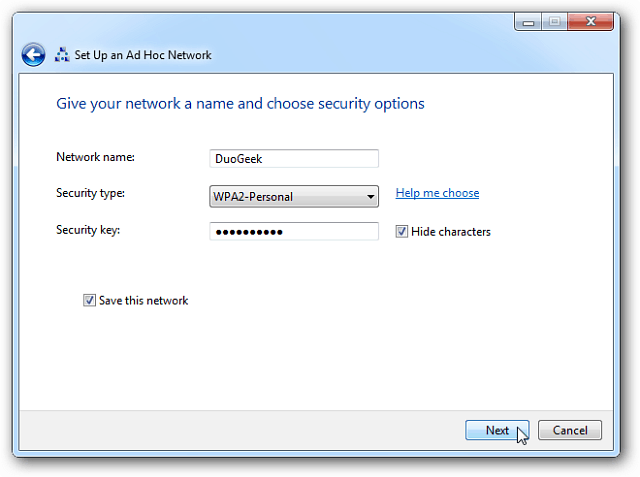
On the next screen, give your ad-hoc network a name, select your security type, and enter a security key. If you’re in a public place, I recommend WPA2 for the best security of your network.
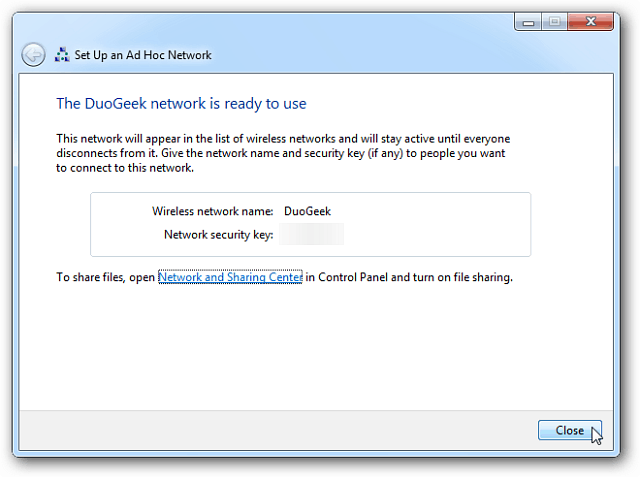
It should just take a few seconds, and your ad-hoc network will be ready to use.
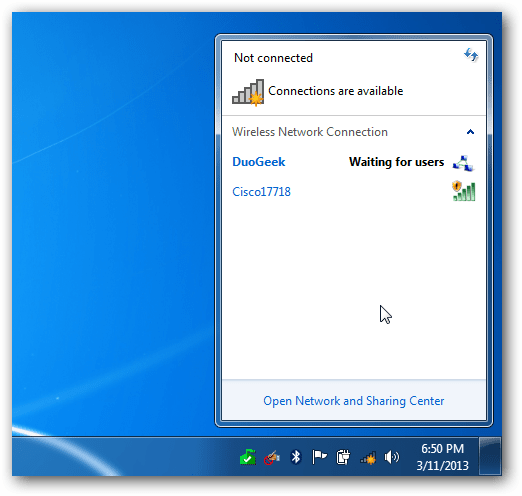
If you click the connection icon in the system tray, you’ll see the network you just created in the list waiting for users.
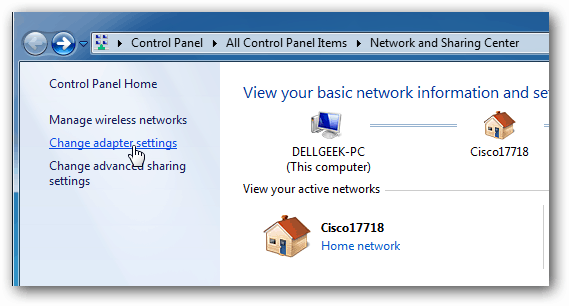
Then go to Network and Sharing Center and select Change Adapter Settings.
Then check “Allow other network users to connect through this computer’s Internet connection” and click OK.
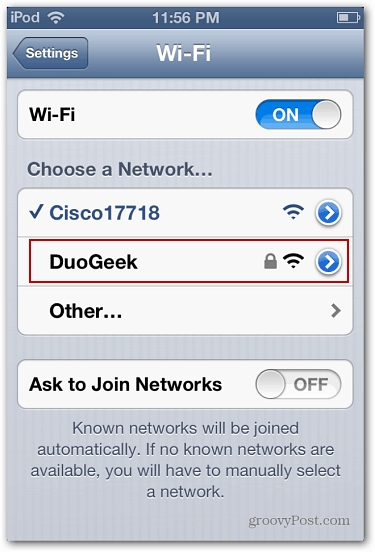
Now you’ll be able to see the shared WiFi connection from your laptop on your mobile device. Just connect to it and you’ll have internet access on the device in no time.
For example, the connection from a D-Link DWA-130/RE was very sketchy. So, I guess your mileage may vary.
![]()
