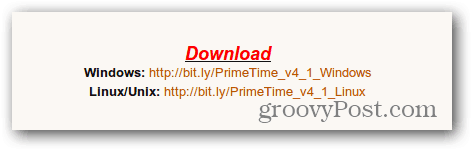
Note: Before you start this process, make sure that your tablet is fully charged, that it is not attached to the keyboard dock, and that you do not have any other android devices plugged into your computer. To begin, there’s a bunch of prep work that needs to be done in order to ensure that our Prime is rooted properly. First, download the viperMOD PrimeTime utility for Linux from it’s XDA forum post. We will be following these steps for Linux (Ubuntu specifically), but you can easily follow (mostly) the same steps for a Windows PC.
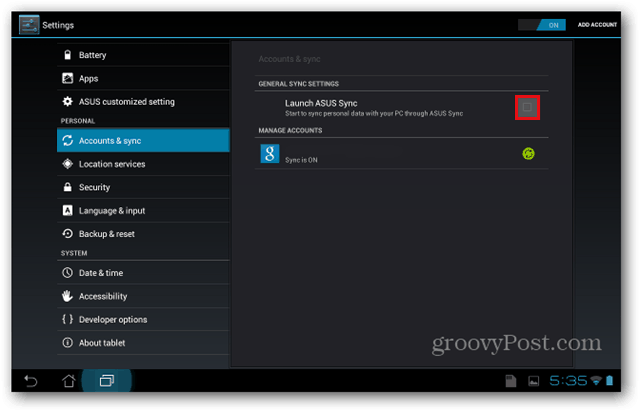
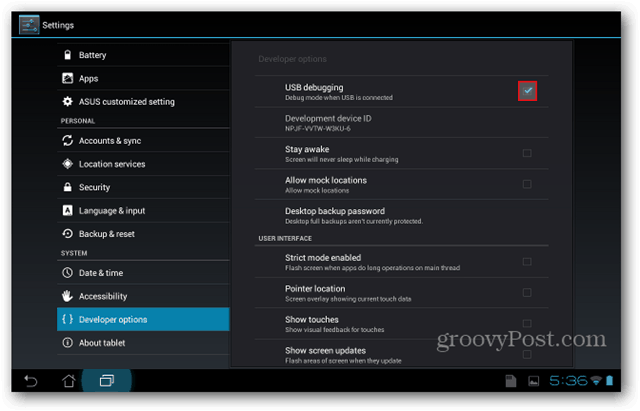
Open up your Prime and go into Settings » Accounts & sync. Uncheck Launch ASUS Sync. Next, select Developer options and put a checkmark next to USB debugging.
Go to Security and place a checkmark next to Unknown sources. You will be given a warning that your tablet will be ‘vulnerable to attack’. Since we’re all big boys and girls, select OK and proceed to the next step.
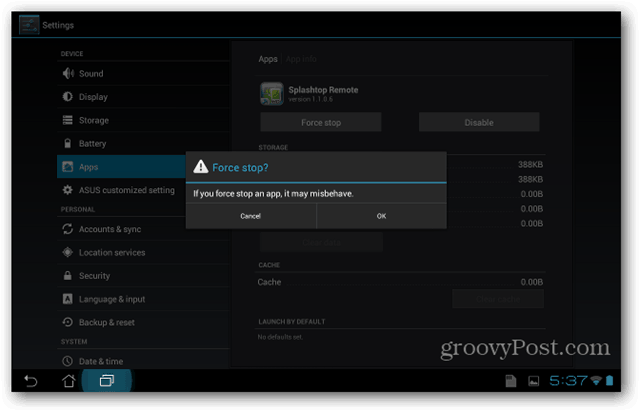
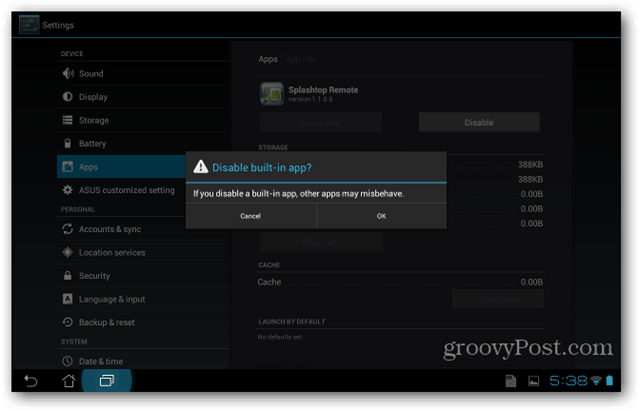
Now you will need to turn off the Splashtop feature of your tablet. If it stays on, it will interfere with the rooting process. Go to Apps then select the ALL tab. Scroll down until you see Splashtop Remote – select it.
Under Splashtop Remote, select Force stop and press OK when you get the warning message.
Then select Disable and press OK when you get the warning message. You can always turn it on after you finish rooting your device.
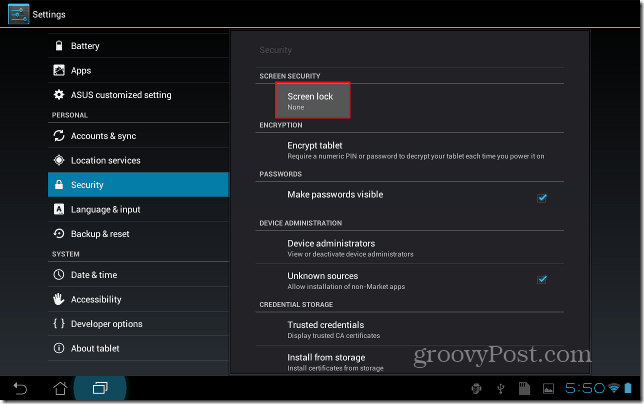
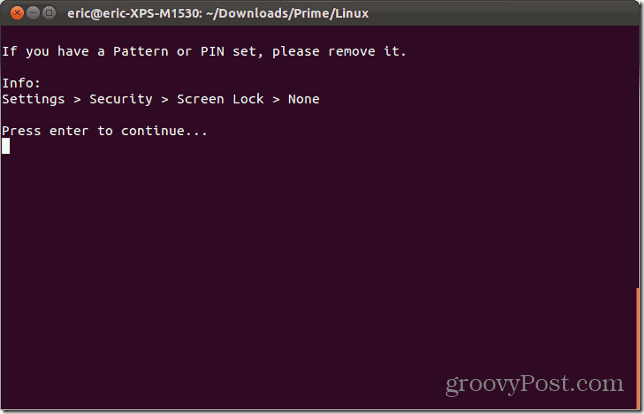
The next setting that needs adjusting is the screen lock. Go under Security and select Screen lock – make sure that it is set to None.
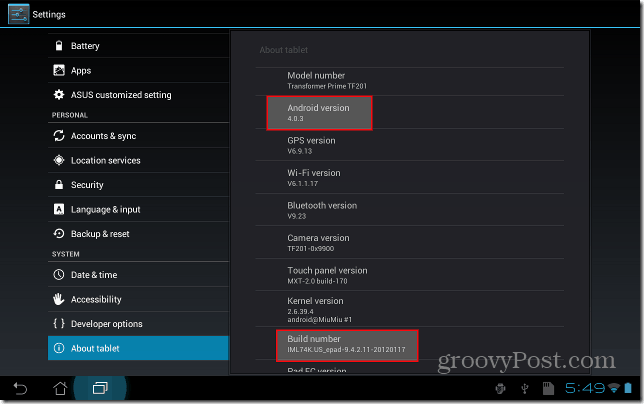
Now you need to write down some info about your tablet. Select About tablet and write down your Android version and your build number. For me it is Android version: 4.0.3 and Build number: IML74K.US_epad-9.4.2.11-20120117. The 9.4.2.11 is the important part of the Build number.
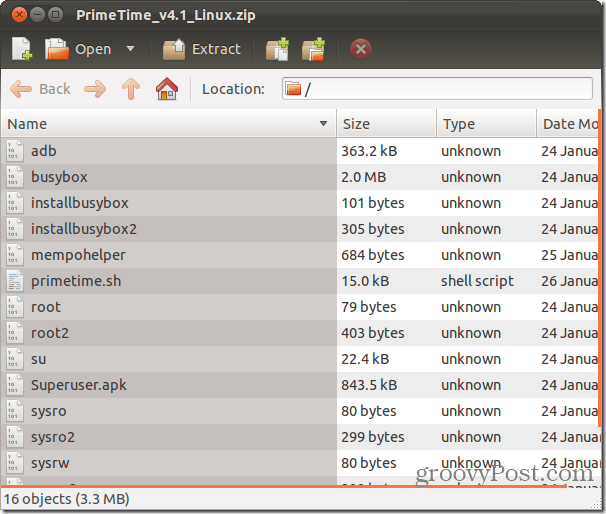
We are now ready to start working on the computer. Remove your tablet from its keyboard dock (if you have one) and plug the Prime into your computer via the USB cable that came with your device. Open the zip file (PrimeTime_v4.1_Linux.zip) and unzip it to a convenient location on your computer.
Now you need to ensure that primetime.sh and adb are both executable. In Ubuntu, right click on the file, go to the Permissions tab, and place a checkmark next to Allow executing file as program. Note: For users who are using a different distribution of Linux which does not have this feature, you can also issue the command chmod a+x primetime.sh in your command line instead.
Do the same thing for adb Properties.
Open your command line and go to the directory where you extracted the files. Type the command sudo ./primetime.sh. Enter your password when prompted.
You’ll be greeted with a fun menu where you have to choose which method to use on the Prime. This is where the information you wrote down earlier becomes useful. Type either 1, 2, or 3 based on your Build number, then press enter. In this example the Prime’s build number was 9.4.2.11 – which means that I will choose option 1.
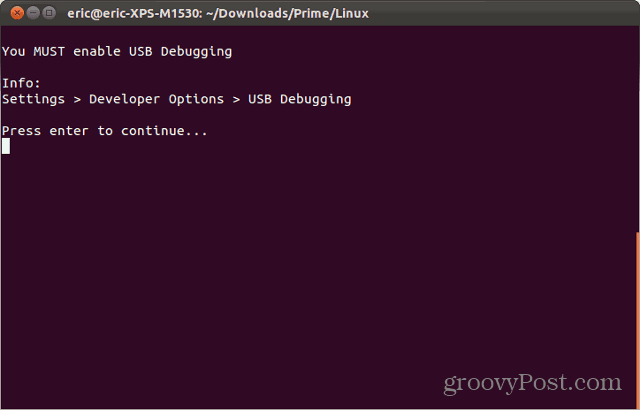
The developer of this application will now ask a couple of questions to ensure that the steps were followed the steps correctly. Since you enabled USB debugging earlier in this tutorial, press Enter to go to the next screen.
Next, press Enter to confirm that you removed any screen locks. You should have done this in an earlier step as well.
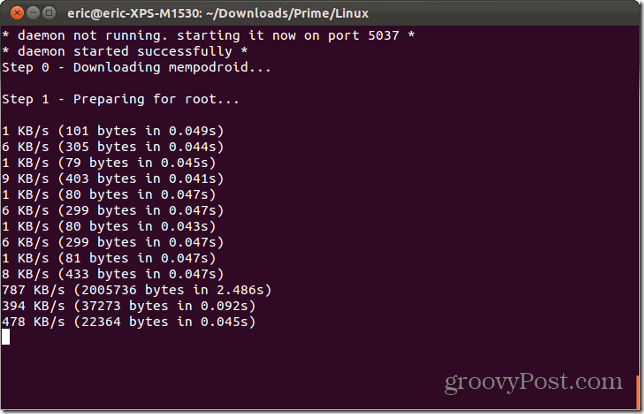
Now just sit back and watch the magic happen. The script will push the mempodroid exploit to your device, run it, then install busybox (a package vital for having root access) and Superuser.
Once completed, your Prime will reboot. While you are waiting, press Enter on your computer keyboard to go to the next step of the script.
To exit, just choose option 6 then press Enter.
Once your tablet boots back up, it will be rooted! If you look under your available apps, you’ll see Superuser.
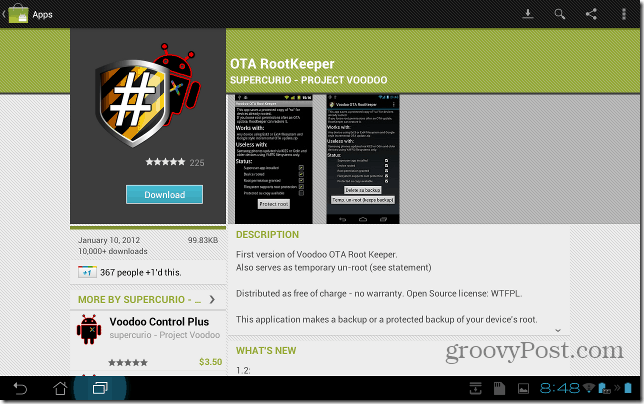
Congratulations! Your Prime is now rooted and you have increased your geek cred by double digits. For extra points, download and install OTA RootKeeper from the Android market. The developer recommends this as it will make sure that you don’t lose your root access with future updates from Asus.
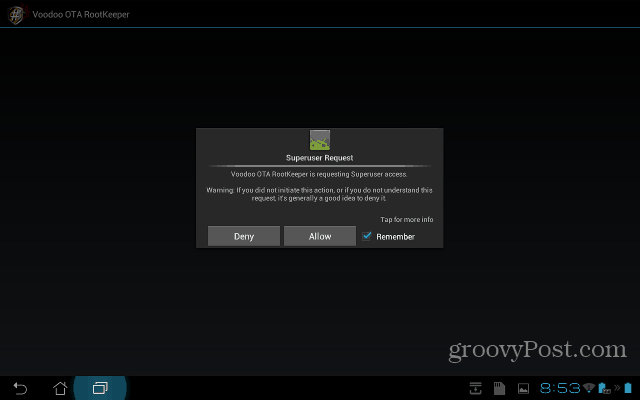
Once installed, launch the application. It will ask for root access, so select Allow.
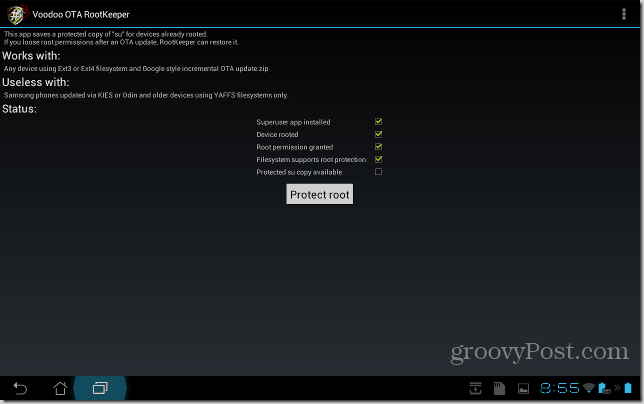
Now just tap “Protect root” and you will be finished!
Groovy!
Guess I will just be fa fanboy and wait for the iPad 3 Thank you in advance. Comment Name * Email *
Δ Save my name and email and send me emails as new comments are made to this post.


![]()
